
Adding Latest posts…
Adding latest posts to your home page
Series: NextJS MD Blog, Post #3
First posted: Jul 27 2023
Read time: 10 minutes
Written By: Steven Godson
Greetings!
In this post we will be building on the site created in the first two articles, and demonstrating the benefit of having re-usable components, to add your latest Posts to your home page.
Steps 1 - Get the correct data
Open your ./pages/index.js file and add the following to the end of the file.
export async function getStaticProps() {
	// fetches all the post data from your published article folder
    const webpackContext = require.context('../posts', true, /\.\/.*\.md$/);
    // console.log('webpackContext', webpackContext.keys())

    // the list of file names contained inside the "posts" directory
    const keys = webpackContext.keys();

	// reverse the array of posts so the newest one is first
    const reverseKeys = keys.reverse();
    // console.log('keys', keys)

    const values = reverseKeys.map(webpackContext);
    // console.log('values', values)

    // getting the post data from the files contained in the "posts" folder
    const posts = reverseKeys.map((key, index) => {
        // dynamically creating the post slug from the file name
        const slug = key
            .replace(/^.*[\\\/]/, '')
            .split('.')
            .slice(0, -1)
            .join('.');

        // console.log('slug', slug)
        // getting the .md file value associated with the current file name
        const value = values[index];
        // console.log('value', value)

        // parsing the YAML metadata and markdown body contained in the .md file
        const document = matter(value.default);
        // console.log('document', document.data)

        return {
            frontmatter: document.data,
            markdownBody: document.content,
            slug,
        };
    });
    // console.log('posts', posts);

	// cut the list of posts down to the first 4 in the array e.g. the latest 4
    const topPosts = posts.slice(0, 4);
    // console.log('topPosts', topPosts)

	// export the data for the 4 latest posts
    return {
        props: {
            latestPosts: topPosts,
        },
    };
}
If you encounter issues I recommend using the console logs, already written in, to see where the issues are.
Assuming there are no errors you are now ready to move on to Step 2.
Step 2 - Use the data
Now that you have the data for the posts, that you want displayed, it can be used to display on your home page.
There are only a few changes required to do this which are shown in the following code.
import Head from 'next/head';
import Image from 'next/image';
import Layout from '../components/Layout';
import Introduction from '../components/Introduction';
import AnimatedSplash from '../components/AnimatedSplash';
// Change 1 - import the BlogList component, if not already done
import BlogList from '../components/BlogList';
import Contact from '../components/Contact';
import styles from '@/styles/Home.module.css';
// Change 2 - import grey-matter
import matter from 'gray-matter';

// Change 3 - change "props" to "latestPosts" to directly access the export data from Step 1
export default function Home({ latestPosts }) {
    return (
        <Layout>
            <Introduction />
            <AnimatedSplash />
			// Change 4 - add the BlogList component and pass in latestPosts
			// consider adding a heading before the component
            <BlogList allBlogs={latestPosts} />
            <Contact />
        </Layout>
    );
}
Step 3 - View the data
Now that we have got the correct data, and passed it into the correct component, we are ready to see the result.
- Navigate to the root folder of your project
- Run
npm run dev - Now go to http://localhost:3000 in your browser
You should now see something like the following.
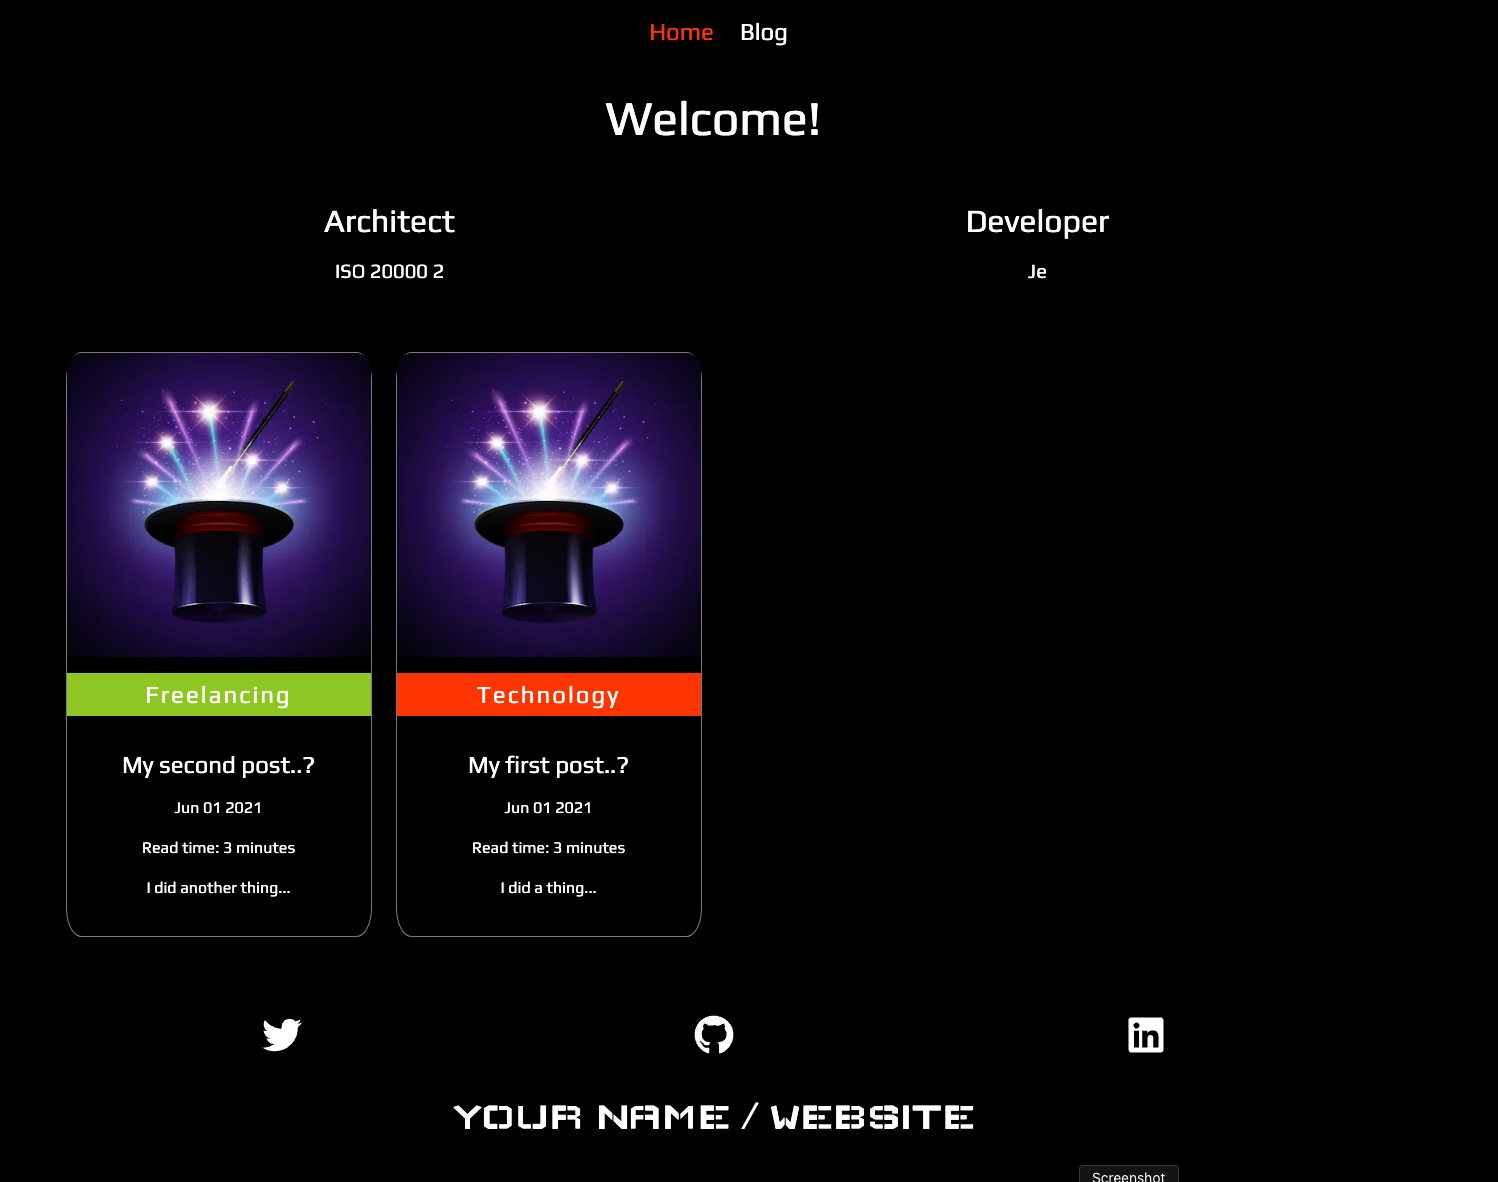
And that’s it for now… you have now updated your blogging site, using Next’s and Markdown, and enhanced the experience of your readers. Hopefully, you found this article useful and will continue your journey.
Thanks for stopping by…